Preliminary steps
The most favorable period, for the cutting of kiwis, is summerbut it is also possible to engage in this operation during the winter. To cut your kiwis, first cut the branches of the plant. Make sure they are still green. The selected twigs must have at least three leaves. It must then remove some, to keep one or two sheets. Cut in half, with secateurs or with a small billhook. Do not forget to cut off the head of the branch.
Thus prepared, the cutting is ready to put in the ground. Before doing so, it should be soaked in a container filled with cuttings hormones. This product is sold commercially as a powder or liquid gel. It allows better healing of the branch, where it was cut.
It also helps new roots grow faster. Instead of these synthetic hormones, you can use natural solutions. Why not use the roots of brambles that, macerated in water, will release natural hormones that will do the trick?
This is also the case with oat grains, inserted into the stem of the cutting, or small willow branches, soaked in water.
The cutting operation
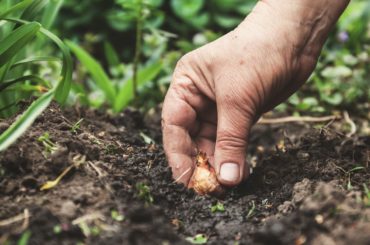
Before planting the cuttings in the ground, it should be prepared. We must dig the holes that will receive the cuttings. For better chances of success, think of mixing a little potting soil with your land. You can also add river sand.
Place the stems in the holes, one-third of their height, and tamp the earth around. We must not forget to water, but without excess.
Cutting kiwifruit with stew
This technique involves placing the cutting in a container, often plastic, tightly closed. It is a wet and confined environment that promotes root growth.
In the case of a kiwi, it is a bottle that serves as a receptacle. You can also use a transparent bag or bell. For successful cuttings, cut the bottle in half. Fill the bottom half of the bottle with soil taken from your garden.
Do not forget, during this time, to soak the end of the twigs in in natural or commercially available cutthroat hormone. Then plant the cuttings in the ground, taking care however that they do not reach the bottom of the bottle. And do not forget to water a little.
This done, now is the time to close your small plantation with the other half of the plastic bottle. Close everything with tape, so that the air does not pass. In addition, you will have taken care to keep its cap at this part of the bottle.
In such an environment, hermetic, evaporation of water is prevented. In ambient humidity, the twig avoids drying out and focuses on root development. The bottle containing the cuttings must be kept in the shade. The best is also to keep it safe, out of reach of frost.


