Repotting your plants is more of a spring activity. This is an essential operation for the latter to benefit from the quantity and quality of organic nutrients. Indeed, by dint of watering, these organic matters end up being exhausted and disappearing. Here are some tips for successfully repotting your plants!
When and why to repot your plants?
Potted plants tend to use up their nutrient reserves quite quickly, so they need to be renewed regularly. The plants are in fact in bad shape when they no longer have any, they no longer grow and the flowers are less abundant.
If the roots are coming out of the drainage holes or if the aerial volume is larger than the pot, it is high time to repot the plant.
Young plants which are in full development should be repotted every year, each time increasing the size of their pot a little.
Once she has reached her size, repotting every two to three years is sufficient.
When the plants are very large, surfacing is sufficient.
The best time for repotting is early March, if the plant is not in bloom. It is indeed the moment when the days are longer and longer and when the vegetation starts again. It then needs nutrients to ensure proper development. If you weren’t able to do it at this time, know that the end of summer is also a good time.
Prepare your material
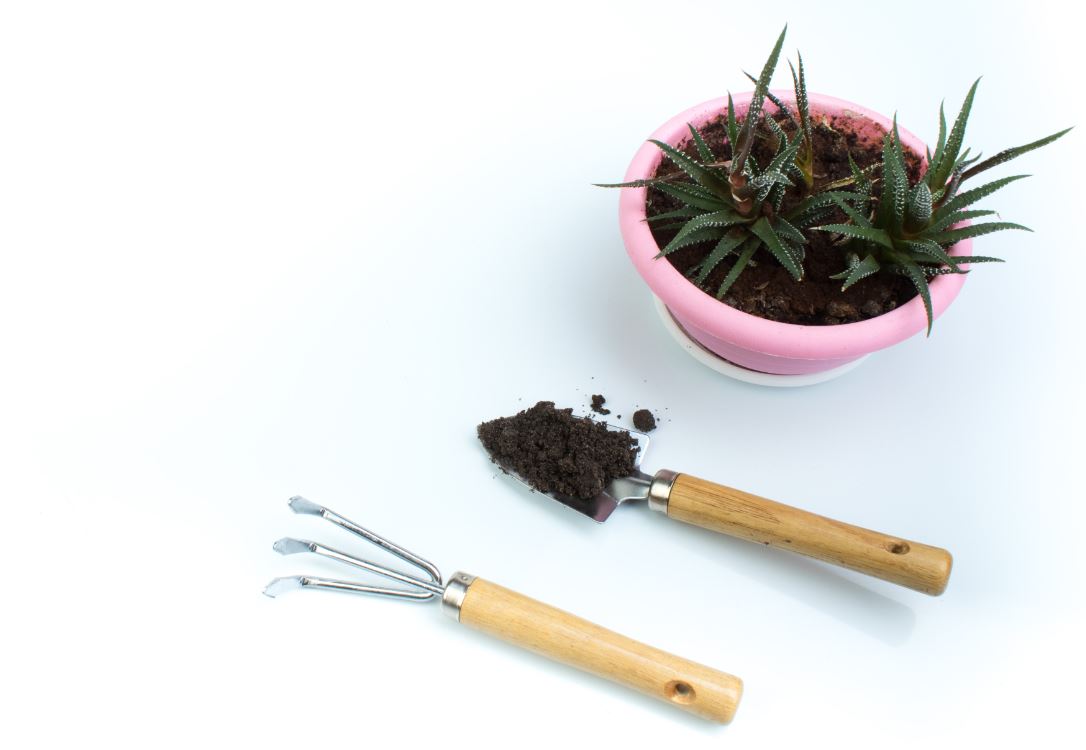
Have everything you need close at hand: the plant of course, the new pot, soil, peat, topsoil, a transplanter, gravel for drainage and a watering can. Sit on a table covered with newspaper.
Some repotting tips
The choice of soil:
You must always adapt the nature of the soil to that of your plant: special soil for green plants or special soil for flowering plants.
The choice of the pot:
The size of the new pot is essential. Its diameter should be slightly larger than the old one and it should have drainage holes. Have you opted for a terracotta pot? So, soak it in water at least an hour before.
Plug the drainage holes:
The water must not stagnate and it must be able to drain away otherwise the roots will rot. However, it must be closed slightly so that the earth does not escape and so that the space is not blocked by the roots. Put a pebble or the bottom of an old broken terracotta pot of course so that the water can continue to flow. You can also just put a piece of fabric.
Use a draining layer:
Line the bottom of the pot with a layer of expanded clay balls, gravel or sand to ensure quality drainage. It is an essential step, but often forgotten.
Prepare the root ball carefully:
It is also an essential step. Take advantage of this repotting to remove the roots which are weakened, damaged and dead by taking a pruner that you have first disinfected and which is well sharpened, the cut must be clean.
Repot the plant:
Untangle the roots and put the plant well in the middle of the pot, spreading the roots well. Add the potting soil and run it down between the root ball and the pot with your fingers or the transplanter. The goal is to eliminate air pockets. Then cover with 2 or 3 cm of the mixture. Tamp and water.
Surface the plant:
Take a claw and remove the old soil as much as possible without damaging the roots. Then replace it with potting soil or a mixture of potting soil and compost. Tamp and water.
Read also :