The automatic watering system is very practical, because it eliminates the need to take out your hose or carry watering cans to take care of your garden. Automatic watering occurs in various ways: either through a sprinkler system or the hose and drip irrigation. You consume less water and make sure your plants a perfect maintenance. Follow our advice to install it correctly!
Automatic watering: why and how?
Automatic watering, whatever its characteristics, this still roughly the same shape. Sprinklers are scattered in the garden, and are connected by a hose to the water supply may be a connection to the home network or a single tap.
It is then necessary to connect all the valves to a programmer to plan and control the water flow.
His choice depends on several criteria like your budget, the garden setting, but also the nature of plants to water and water quality.
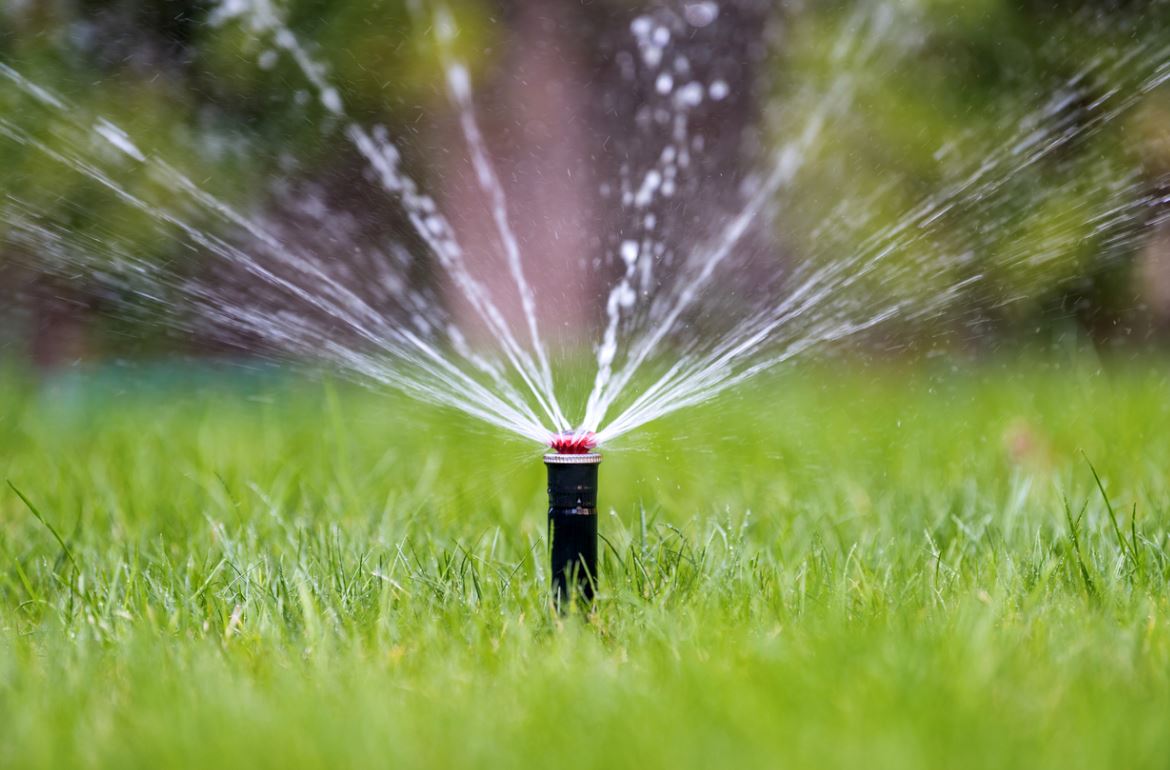
Watering underground: more difficult to install
The underground irrigation is certainly more aesthetically pleasing, but it is more complex to install and requires more extensive work. It is best suited to large lots that are grassed. You can then have small fairly powerful turbines with a radius of 10 meters or nozzles, providing watering, every 4 or 5 meters. Before starting the first trench, it is best to do a technical study by a professional who will propose a project tailored to your needs.
To know : Before making your decision on the system you want to adopt, given the different methods available, you really need to accurately assess your needs and expectations.
Surface Watering: less elegant
It is certainly cheaper and more easily editable and scalable, but more suitable for small areas and for those who wish to opt for simplicity.
In this category, you find three different systems:
- The drip-drip: it is perfect for reducing water consumption to the bare minimum. The beak of each sprinkler is in the form of a pipette. It distils the water in drop by drop at the foot of each plant, without wetting the leaves. It is ideal for flower beds, shrubs, plants or the garden. Only small problem: it requires to any significant network of pipes and many sprinklers.
- If you want to water a larger area, micro-sprinkling then strongly recommended. Water is provided as a light rain, allowing to water regularly over a radius of several meters.
- Porous pipes are a recommended solution. The principle is based on the water that escapes from their membrane. This system is simple, but effective. Disadvantages: irrigation is less uniform and water when it is limestone, mouth holes easily.
To remember :
- Surface pipes are preferably used on small surfaces.
- Automatic watering consists of a timer, a sprinkler network and a valve.
- For sites with a substantial area, the safest and easiest, remains the underground facility. It is quite important work and it has a cost, but it is very efficient
Think about your needs
If you have a vegetable patch, lawn or flower beds, you don’t have the same expectations. If your garden is large and combines these three areas, you select the type of the most suitable automatic watering. This decision requires consideration of the surface you want to cover, the water flow and the characteristics of the garden.
Whichever solution you you decide, it is best to carry out a plan to not make an error of assessment.
The steps for installing an underground irrigation
The necessary equipment :
- Stakes;
- A shovel ;
- A meter ;
- A rope ;
- A drill ;
- Wrench;
- A hacksaw;
- A cutter ;
- Teflon.
Mark locations:
Mark the locations according to the plan you have made. It takes you spot where you put each sprinkler. Pull the cord and wrap the posts that define the area you want to equip.
Unroll the hose then: do it in a few hours before the blocking with fillers, it does not roll up in its original form.
Digging the trenches:
Dig the trenches: the width is equivalent to that of the shovel. In terms of depth, it will preferably be 25 to 30 cm.
Cut the sod and keep the earth standing out plastic to avoid staining the grass.
Dig perpendicular trenches, keep sprinklers away and avoid plant roots.
Put stones in the trench rather choose medium sized stones. You must be very careful and do not put stones or sharp objects that could damage the pipes.
Assembly of fittings and clamps:
Install your pipe above the stones and at the bottom of the trench. Then place the sections in the perpendicular cut so as to obtain the desired length.
Check from the tee and cut with a hacksaw.
With a knife, cut the ends bevelled.
Put the compression fitting and the gear sleeve in place.
Then screw the nuts on the tee.
Lift the tube with a plank you press the edge of the trench.
Place the lower part of the clamp under the pipe, leaving the screws protruding.
Attach the O-ring at the top of the collar.
Assemble the upper part by screwing it to the lower part.
The drill pipe through the orifice of the support collar with a wood drill 12 mm.
Installation of solenoid valves and sprinklers
Install the water supply pipe.
Screw the MTT100 manifolds to put the battery of solenoid valves.
Screw each manifold to a solenoid valve. Then screw the male thread joint connector at the outlet of each solenoid valve using Teflon.
Then assemble the polyethylene pipe fitting of the corresponding station. Then, connect the solenoid valve to the programmer with a multi-conductor cable.
Purge lines:
After installing everything, fill the installation with water to eliminate any waste that could clog the sprinklers. The solenoid valves must be open.
Put Teflon on the thread at the elbow and screw the elbow to the collar.
Attach the hose to the elbow, put teflon on the second bend and assemble it. Thread the sprinkler on the second bend. Adjust the height well to the ground with a ruler. Fill the trench with earth to consolidate the system.
Read also :